Good morning everyone
Moving on from last week's easy gift bag, this one is a little more involved
Here is the finished item which
is approximately 5" high by 3" wide and 2" in depth
Here's how to make it
(and there are two more bags made with different papers at the bottom of this post)
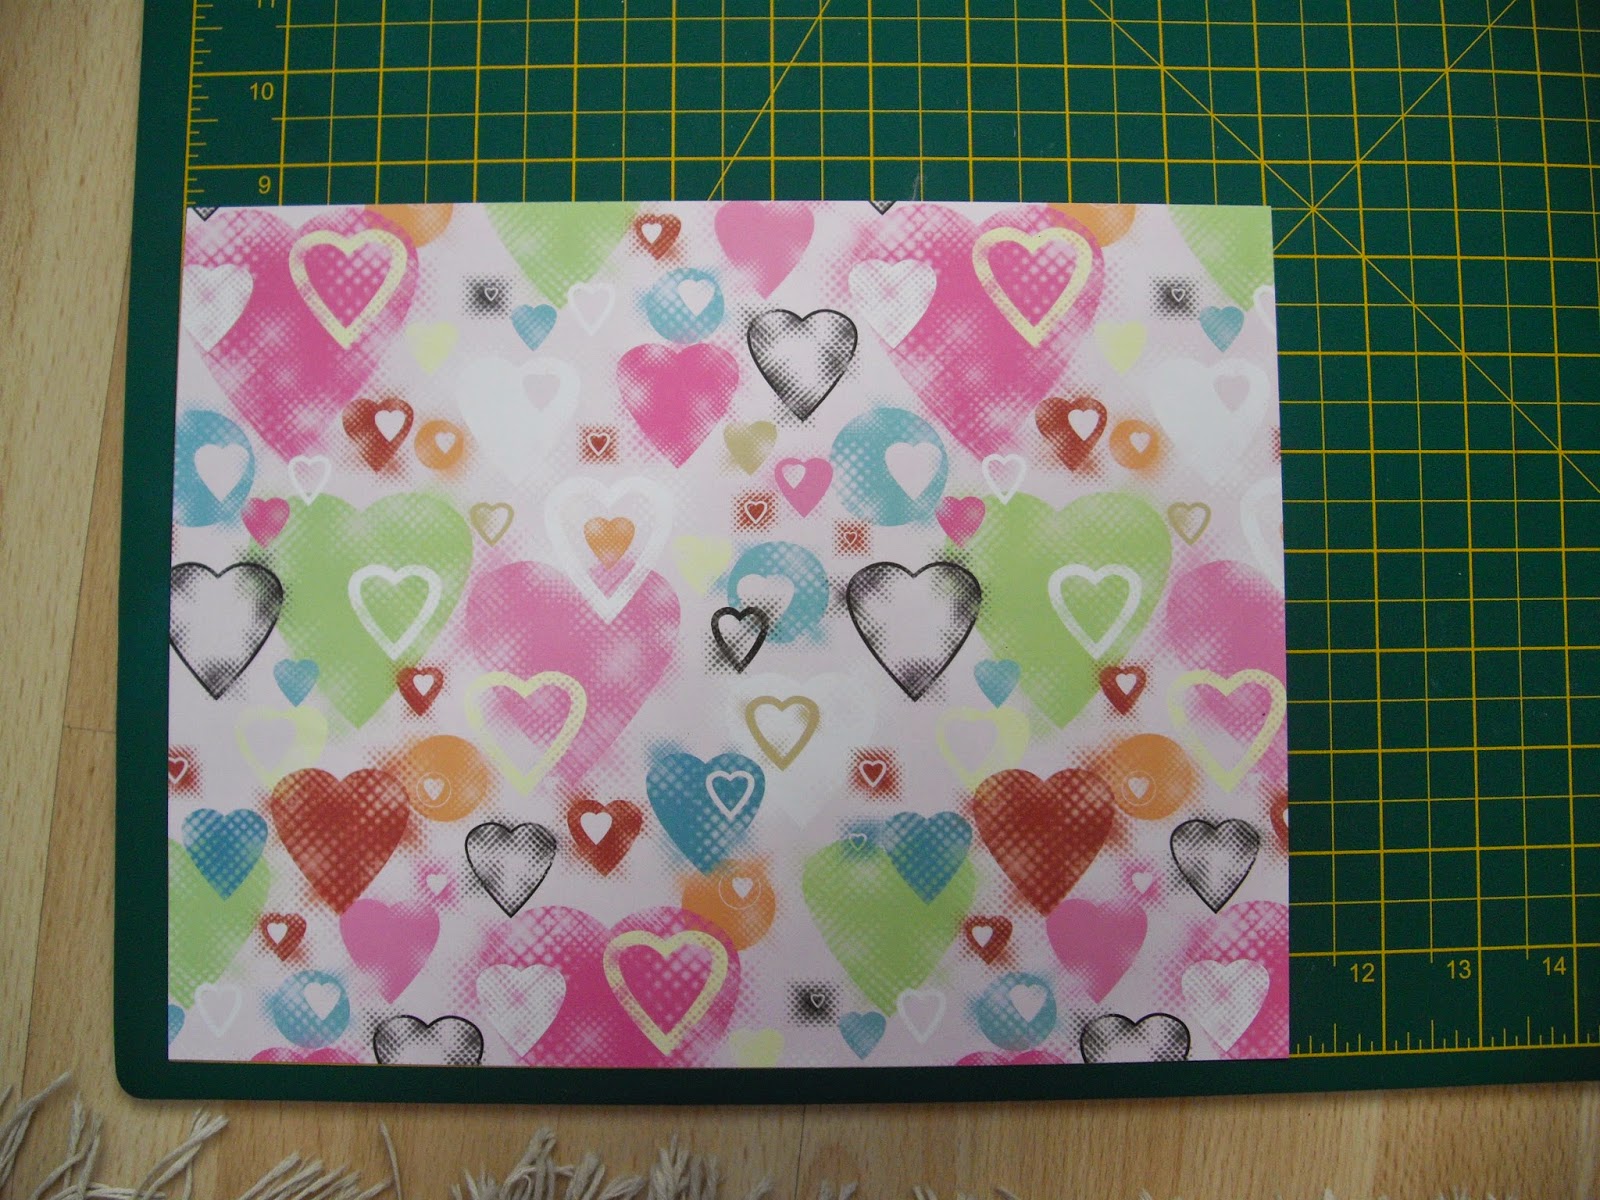
Cut a paper to 11" by 8.5"
With the paper placed in landscape, vertically score or fold the following measurements starting from the left at 2" then 5" then 7" then 10"
turn the paper 90 degrees anti clockwise and score or fold starting from the left
2" then 7"
You can just about see the folds above
Cut along the score/fold lines as above
You will notice that on the right hand side, I have cut on an angle on the narrow flap,
also, at the bottom, I have cut each score/fold line vertically to the horizontal score/fold line
With Cosmic Shimmer Dries Clear glue I attached one side (the flap cut with an angle)
to the other to create a 'tube'
Fold in the sides of the bottom and glue
Turn right side up and pinch the sides together
Punch two holes in the closing flap, then pinch the bag closed and mark the holes
onto the paper behind the flap with a pencil. Open the flap and punch two holes
where your marks are
Add a decorative strip or punch a pretty edge
Thread a ribbon from the inside of the bag through to the outside and tie a bow
to close the bag
Here is the same bag with different papers
You will see that I have punched the edge of the closing flap on this bag, also, instead of tying a bow, I have tied a loose knot in the ribbon and attached a paper flower
The paper is from the Graphic 45 collection called Picture Perfect
I hope you all have a great week
~Suzanne~


Fab little bag, really like the punched edge bag, so pretty, thanks for instructions,xx
ReplyDeleteThese are lovely little bags. Will have to find some special papers to have a go. Thank you, Jan
ReplyDelete