Good morning peeps,
How are we all today, I do hope that you are having a good week?
We had Paul's ( my husband's ) dad's funeral yesterday and everything went really smoothly and it was a beautiful service where my uncle Steve played on guitar and sang 'In the Arms of an Angel', it was so moving and everyone loved the service. Pete had so many wonderful friends and they all turned out for him and then we had a lovely reminiscing wake for him back at the house. Bless you Pete, we will miss you........
On to a lighter note, as you all know by now my new stamps are out there and thankfully have gone down very well with everyone and I have loved playing around with them. I have managed to make so many different things with them including home décor, cards clocks, coaster and so much more and will feature them over the next few weeks, When I designed them I did not want them to be one trick ponies as we all know that we buy stamps galore and use them a couple of times and then stash them away and buy more......
So with that in mind, when I began to design them I wanted them to do at least four or five different things and I will explain more now. Here is the first one that I designed which is the Floral Poppy Elements......
So the idea is:
1. Just say that you are a colourist and love colouring with Copics, Promarkers, Spectrum Noir, Spectrum Aqua's or any kind of colouring medium then you have a great main image that you can colour in.
2. If you love playing with stencils, then you can use a background stencil with inks or Stencil Paint and create a background image and then stamp on top with say VersaFine Black Onyx
your main image from the set. I have then given you the separate heads of the flowers and leaves so that you can stamp them separately and colour them to block out your background without having to stamp the whole image again.
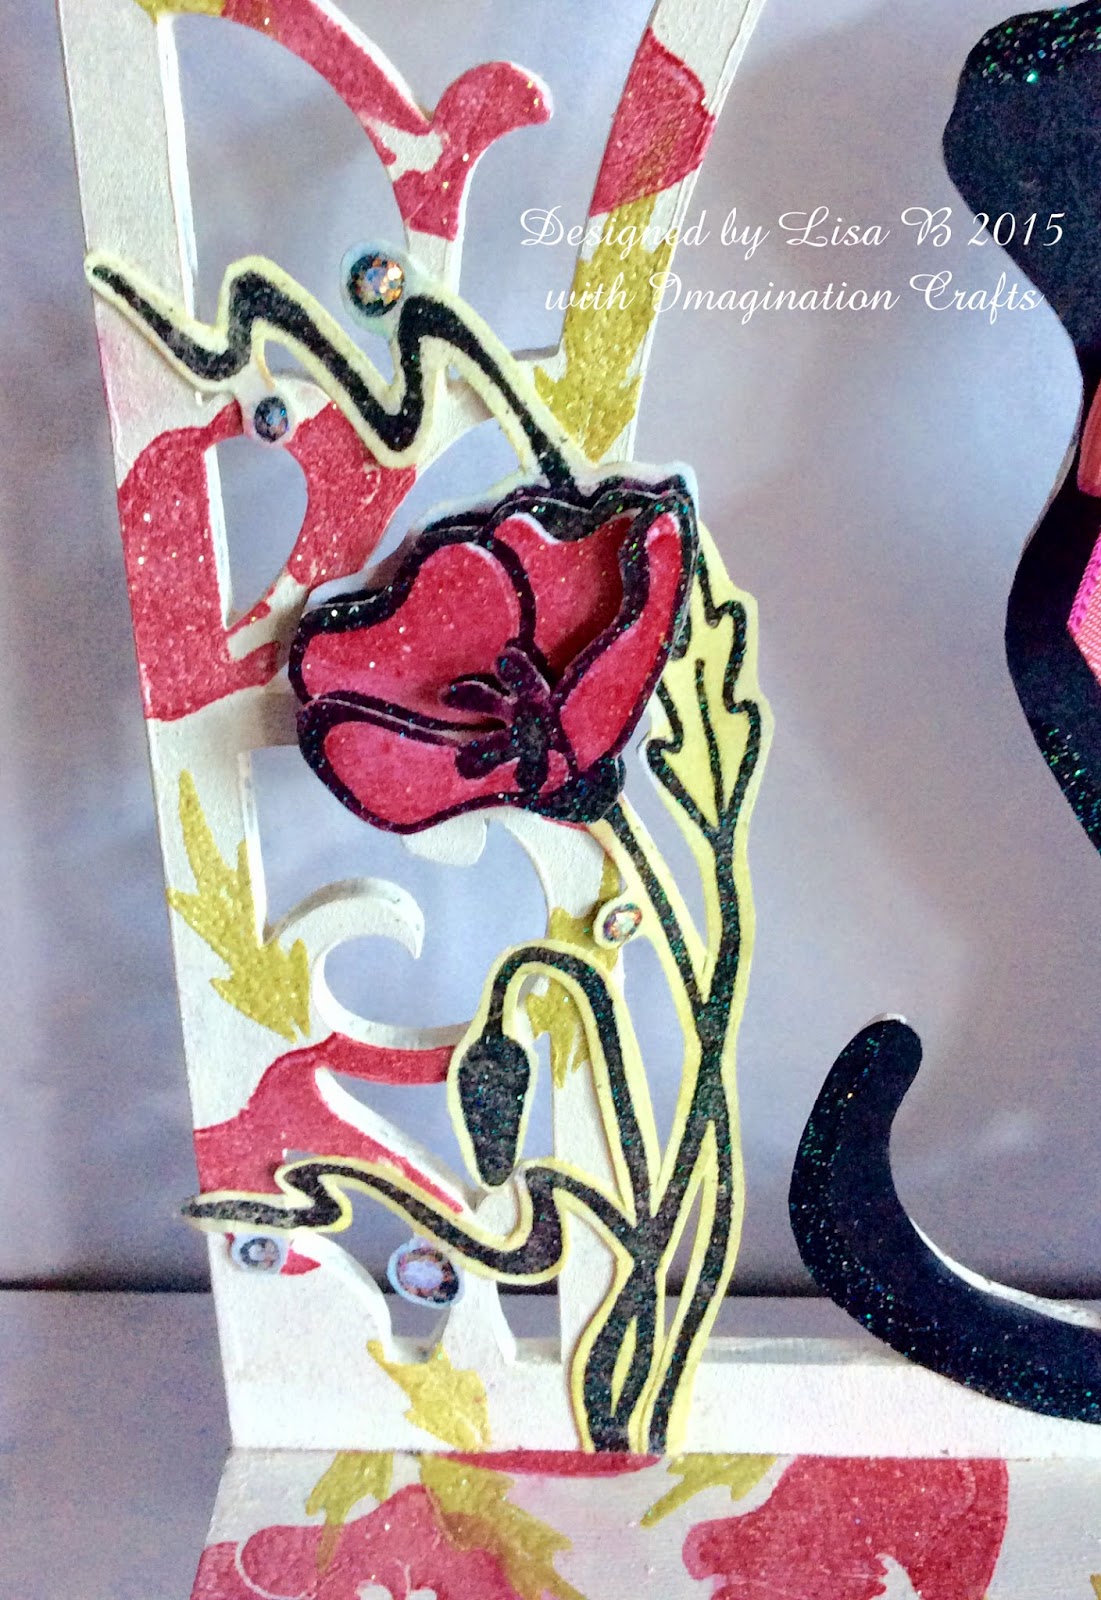
3. If you hate colouring but love inks then I have given you a negative of the poppies and leaves so that you can ink the main focal and then ink up the heads of the flowers and leaves in separate colours and then stamp them in as a whole. I have also designed the poppy so that the layers can be cut away and decoupaged too, you will see this in the cat plaque that I have made below......
4. If you love watercolour flowers then another great way to use these stamps is to ink up the main image with say a green ink pad and spritz it lightly with water and then stamps it. Then use the negative stamps and ink up the poppy heads with say red ink and also spritz with water and then stamp to get a watercolour impression and repeat with the leaves in green.
5. Because I have given you the negative elements you can also use these to create tapestry like effects but on a larger scale and I will show you a sample in this post that I have made using Versacolor inks......
I am finding limitless ways to use these stamps each time I use them and would love to see what you all create with them. Here are just a few of the samples that I have made using the Botanical Poppy Elements Stamp set.......
This first one was a card that I taught in my class workshop last week and some of you may have seen the blog post from Kirsten HERE with the fantastic results from the class ladies. I used the hugely popular Honeycomb Stencil from Imagination Crafts and stencil paints Poppy Red and Lime Green for the background and then stamped the main image with Versafine Black Onyx ink and then embossed with Wow Clear Powder and then also used the Stencil Paint to colour the image with.....
This first one was a card that I taught in my class workshop last week and some of you may have seen the blog post from Kirsten HERE with the fantastic results from the class ladies. I used the hugely popular Honeycomb Stencil from Imagination Crafts and stencil paints Poppy Red and Lime Green for the background and then stamped the main image with Versafine Black Onyx ink and then embossed with Wow Clear Powder and then also used the Stencil Paint to colour the image with.....
This next card is 'Field of Poppies' and this was a mix of the positive and negative stamps of the set using Versacolours this time in Rose Red and Bamboo......
For the next make I wanted to create a clock and I used the Imagination Crafts large clock and gave it a primer of gesso before painting it with Lime Green Stencil paint and then a layer of Crackle and then a top coat of white acrylic paint to create a great crackle. I then played around with the Honeycomb and Poppy Elements Stamp until I was happy with the results......
The next make is another card but showing how you can use the negatives
in a tapestry stamp style way using Versacolor Inks and then embossing with Wow Sparkle Powder, I hope that you can see the sparkle.......
And lastly the gorgeous new MDF wall plaques designed by the lovely Tracey Dutton from Lavinia Stamps for Imagination Crafts. I adore these and love playing around with them, again for this one I used the Negative and positive stamps to decorate the wall plaque with using Versacolor inks. I have also decoupaged the poppy heads on this one.......
A little closer look......


No comments:
Post a Comment
We'd love to know what you think, so please feel free to leave a comment. Every one is greatly appreciated.