Showing posts with label Stickles. Show all posts

Thursday, 9 February 2017

Alcohol Inks, Mishaps and a Daydreaming Lavinia Fairy!

Good morning ladies and gents! Did you manage to catch any of the Imagination shows on Hochanda? There were some fabulous demonstrations from Kerri-Ann and Sue; I feel very inspired at the moment!
As some of you will know, I am a touch mad for anything fairy, mystical etc., so when Lisa told me the theme for this month's makes I was very excited (with knobs on)!!!

Alcohol Inks were new to me, I had seen them used, but never dipped my toe in the water. I decided to try using them on Gloss Card first and have a little play to see what I would get. At this point it is perhaps wise to advise you that there are no definite instructions for applying the inks - you just aim and FIRE!!! (well, I did anyway!)

To start with I applied a new Applicator Felt to my Blending Tool and dotted on some drops of the ink. I chose to use Amethyst, Cool Peri and Mermaid, making sure I did not go too mad with the darker tones.
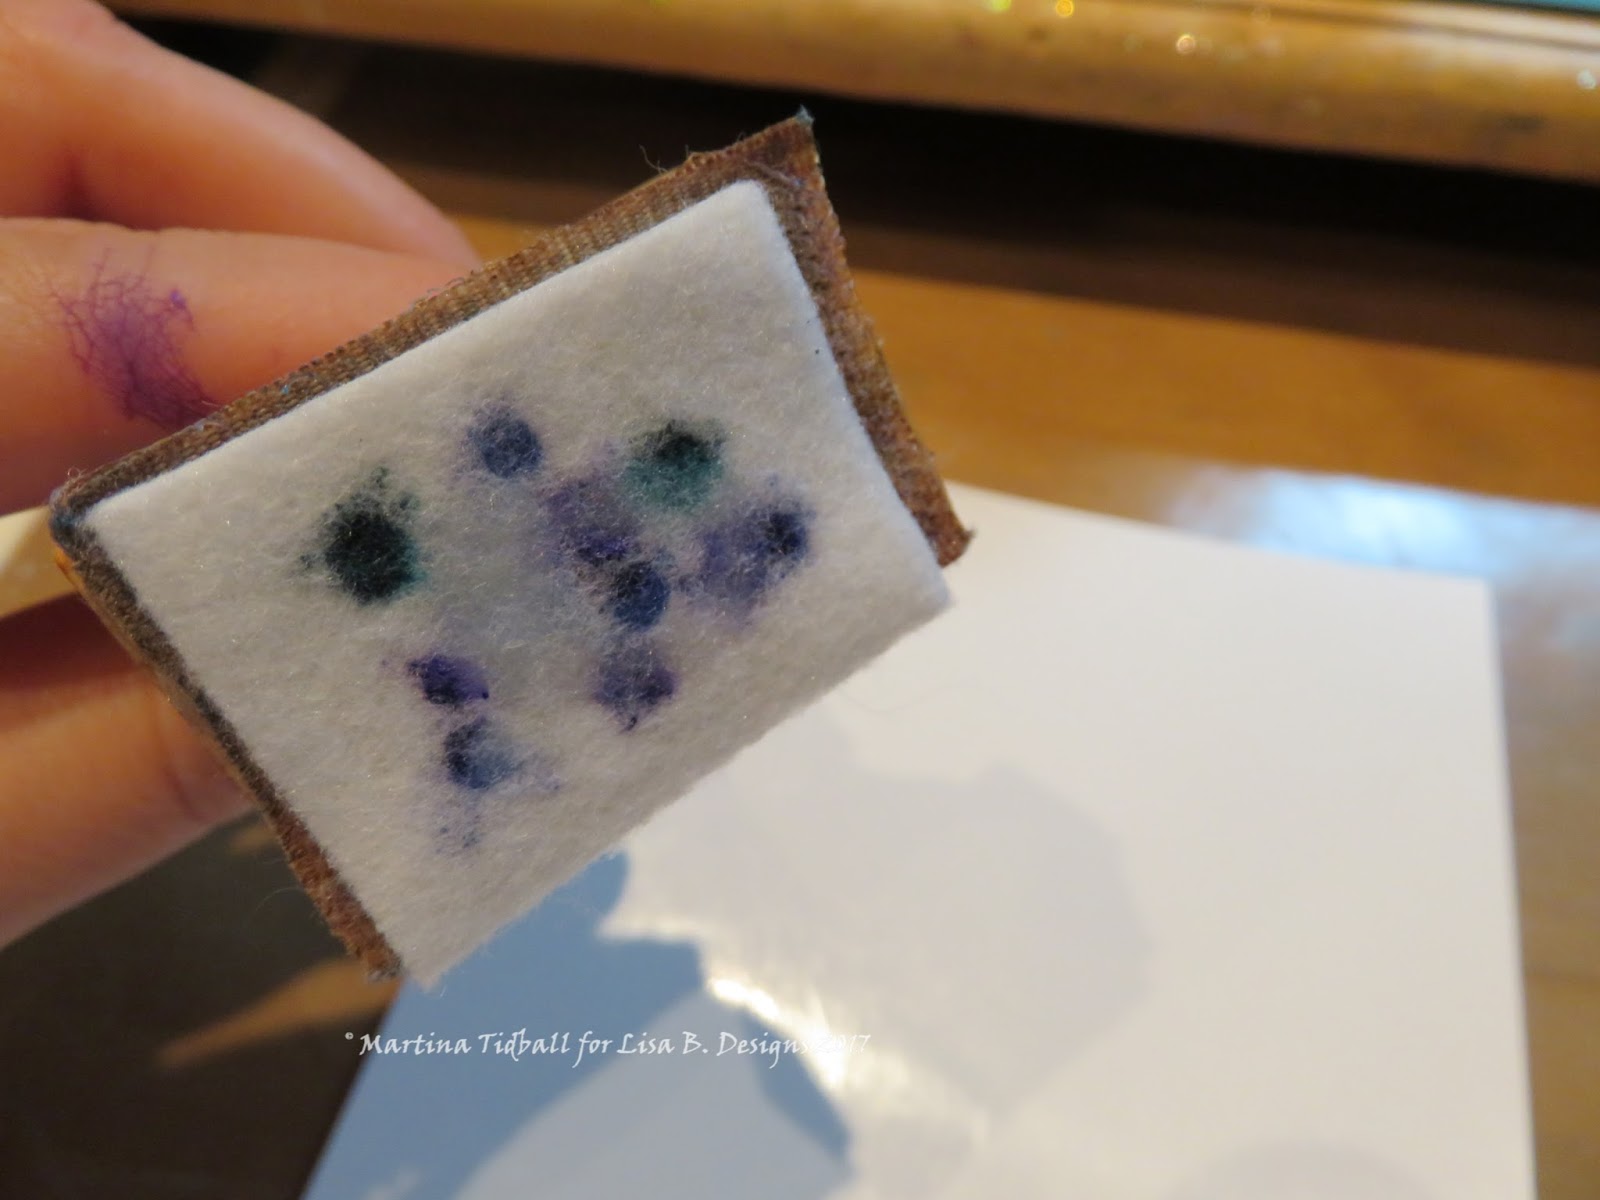


Once the ink was on the felt, I added some Blending Solution around the ink dots (I didn't want the dots to be too 'definite'). Once ready to go, I pounced onto my card stock until I was happy.


Once the inks were dry (almost instantly on the Gloss Card), I picked out a definition stamp from the Artistic Stamper Encyclopaedia Botanica Set (which is on sale with Lisa at 46% OFF!!!) I stamped this twice to the side of my topper with Black Archival Ink.


My next step was to add some foliage to the background. I chose the Lavinia Stamps Dandelions 2, Willow and Field Grasses for this, stamping randomly all over the bottom. Once I was happy with the layout I stamped the beautiful Lavinia Briar Rose with Versamark before heat embossing with Wow White Powder. Thinking the main part of my card was done, I added some Stickles and then went to bed...


 The next morning, I realised I had made a big 'mistake' -  I used somecoloured Memento Inks when I stamped the foliage and the colour 'sunk' into my card overnight! AHHH!! I loved the colours I used and was not a happy bunny, but there are always ways round things... 


 Not owning lots of coloured Archival Inks, I decided to re-stamp the foliage again, roughly in the same sort of composition as before, with the same original inks and colours...THIS TIME to make sure the ink did as it was told, I quickly heat embossed with Clear Wow Powder.

My last steps were to add the Lavinia Dreams and Delights Sentiment and some matts and layers. All done. Phew!  
Thinking about it, I could have said that I let the first lot of foliage sink into the card to add depth etc. before adding the top layer...
Nah, I was 'on a learning curve'!!


I hope you like the final card after all my blundering! I love to imagine what she's thinking...

See you next week for some more crafty mishaps tutorials!

Love
Martina
xxx

Dandelions 2 LAVSTWillow LAVST Field Grass LAVSTBria Rose LAVSTVersamark Ink PadFelt Applicator Pads 20pk Alcohol Blending SolutionClear Gloss WEPAmethyst AIOpaque Bright White WEPStickles Grape CrushStickles AquaArchival Inkpad Jet BlackCool Peri AIMermaid AIEncyclopaedia BotanicaDreams and Delights LAVST

Tuesday, 4 October 2016

Mouse Choir


 Good morning crafters, it's Julie here again with another mouse Christmas card from the cute Hobby Art stamp set; Have a Very Mice Christmas


First I stamped in Onyx Black Versafine my choir mouse once in the centre of a scrap of card and heat embossed with WOW! Clear Gloss embossing powder, and stamped the image again on a sticky note to make a mask. I cut out this mask and placed on the mouse I had just stamped and then re-stamped the same image again either side of my mask and heat set with clear embossing powder again, so I had my choir in place.


Then I set about colouring my choir in with Spectrum Aqua pens, (on special offer on the website).
 I die cut the card with a circle die and ran through again using a pinhole circle die from my stash to make a topper.


I then moved onto creating my background and decided I wanted an edge round the card, so I stuck masking tape around the edge, ( this is where I went wrong as I didn't de-tack this enough on my clothing, so you can guess what happened!). I merrily stamped my Imaginations Christmas Script (coming soon!), in the background using a purple ink and covered it with clear embossing powder. I didn't heat set until I had removed the tape as this would have activated the glue on the tape, however in removing this some of my card as well. A little despondent, I carried on and heat set the embossing powder.


So I then cut strips of purple card and attached them to my card blank overlapping each end (to hide my mistake).


 I die cut a scalloped circle in purple and attached this to the topper. The topper then got attached to my card using double sided sticky pads and I finished the card with a clear gem in each corner, some Icicle Stickles on the choir's ruffles and a bow I tied with a piece of coordinating ribbon.


Have A Very Mice Christmas Spectrum Aqua Pens   VersaFine Ink pad - Onyx Black     Clear Gloss Regular WEP    Stickles Icicle   7x7 White Card Blanks & Envelopes


Well that's my card for today, I hope you like it, mistakes and all....

I'm looking forward to seeing everyone at Friday's classes in Fant Hall, Maidstone, have a great week.

Love, Julie x

Friday, 4 December 2015

Starlights Bauble

Hello Crafters, do you have that Friday feeling?  It's party time :o)  I hope you're all looking forward to it.
I've had a bit of a busy week so today's card is quite simple.  I've used lots of familiar things so lets get started.

This was a 6" x 6" card matted with black, silver and then white card. 

Ingredients as follows:

Spellbinders Ornament
Hobby Art Winter Wishes Stamps (Reduced on the website)

I cut out one of the Baubles from one of my Spellbinders ornament dies and painted it with Starlights Silver, mixing it on a tile with a very small amount of water.  Left that one side to dry. 

I then cut out a Poinsettia Die and some Holly Sprays and again painted them in the same way.  I painted the little berries on the holly spray with a little of the red Starlights but decided they needed a little extra sparkle so topped them off with some Xmas Red Stickles.

Here are the components:


After matting all the card stock, I glued the holly spray in place leaving the end so I could tie a small piece of cotton through the bauble to look like it was hanging from the branch, then glued the bauble in place. 

The second Holly Spray was cut in half and glued either side of the bauble, then mounted the assembled Poinsettia in place and finished it off with an Iridescent gem.

I then stamped a Merry Christmas Sentiment and the card was done.............


As I said very quick and simple, but a little festive cheer.

See you soon, love Jan -x -