
Hello all! A quick 'how to' and a scheduled post from me today, as all being well I should be sunning myself in the tropical climes of North Yorkshire! Optimism I know, but I love the scenery and am looking forward to some lovely walks!
I made a candle for one of my samples this month and loads of people asked how to do it, so I thought I would do a little guide. The Imagination Crafts Art Stamps are perfect for a large candle and the snowflakes from the Hobby Art Winter's Snowflakes Set make perfect little fillers!
The first step was to choose a candle that would work with my chosen Art Stamp. As I chose to use the Santa Claus Stamp, I wanted a thick tall, church style candle, so that you could see him clearly (it doesn't really work using little thin candles for this technique as you can't see the stamped image really well. It is also a fire hazard as you will be using tissue paper and this will be too near to the wick if the candle is skinny)!
Once you have your candle, you then need to stamp your images and plan your composition. The best way to do this is to roughly work out how high and wide an area you have to work with. Tear a piece of Tissue Paper to the correct size leaving 'rough' edges all around. You won't see these edges once it's done, but they become more 'invisible' to the eye if they are not perfect and straight to start with! I like to have images all around my candle, so allowed for this when planning my stamps. I used Vintage Sepia Versafine Ink to stamp with, using the Santa Claus Art Stamp and the Hobby Art Winter's Snowflakes to surround a sentiment from my stash. I like using Versafine as it picks up the detail, but as it is a oil-based ink you have to remember to keep your fingers away to prevent smudges and transfer of finger prints (how did I find that out I wonder...!) Once the image is on the candle though, the ink will be sealed and you can relax! You can use any ink to stamp onto the Tissue Paper, the best way to think of it is to use the ink that best fits the stamp and colour technique (if any) that you want. I wanted the beautiful detail in the Art Stamp to be paramount here, so chose the detail ink. If you want to use a line-art stamp and colour it in with alcohol pens, use a water-based ink, such as Memento. If you want to use watercolours to colour the image, use Staz-On. It's up to you, experiment! The Art Stamps make this sort of project simple for you, as you have the detail already in the stamp and do not need to add anymore with colour, unless you want to.

Once you have your Tissue Paper stamped, place it in the desired position. You don't have to place it all in one go, just do one section at a time. Then take some baking paper (greaseproof etc.) and wrap this around the whole candle. Make sure you leave enough to grip hold of at the back, keep it tight and not burn your fingers...

Using a heat gun, gently heat the project, making sure you cover all areas and all the tissue disappears. You will see the stamped image become much darker as it is heated and sinks into the candle, once this starts to happen, move onto the next bit. Don't linger too much or you will melt the candle and get drippy bits! Once one section is done, take the baking paper off and move onto the next section. Voila!


To finish my candle I wanted some blingy florally bits (?), so I raided my stash and made a bouquet (if that's what I can call it!) I stuck this to the candle using a glue gun and added some ribbon to finish it all.
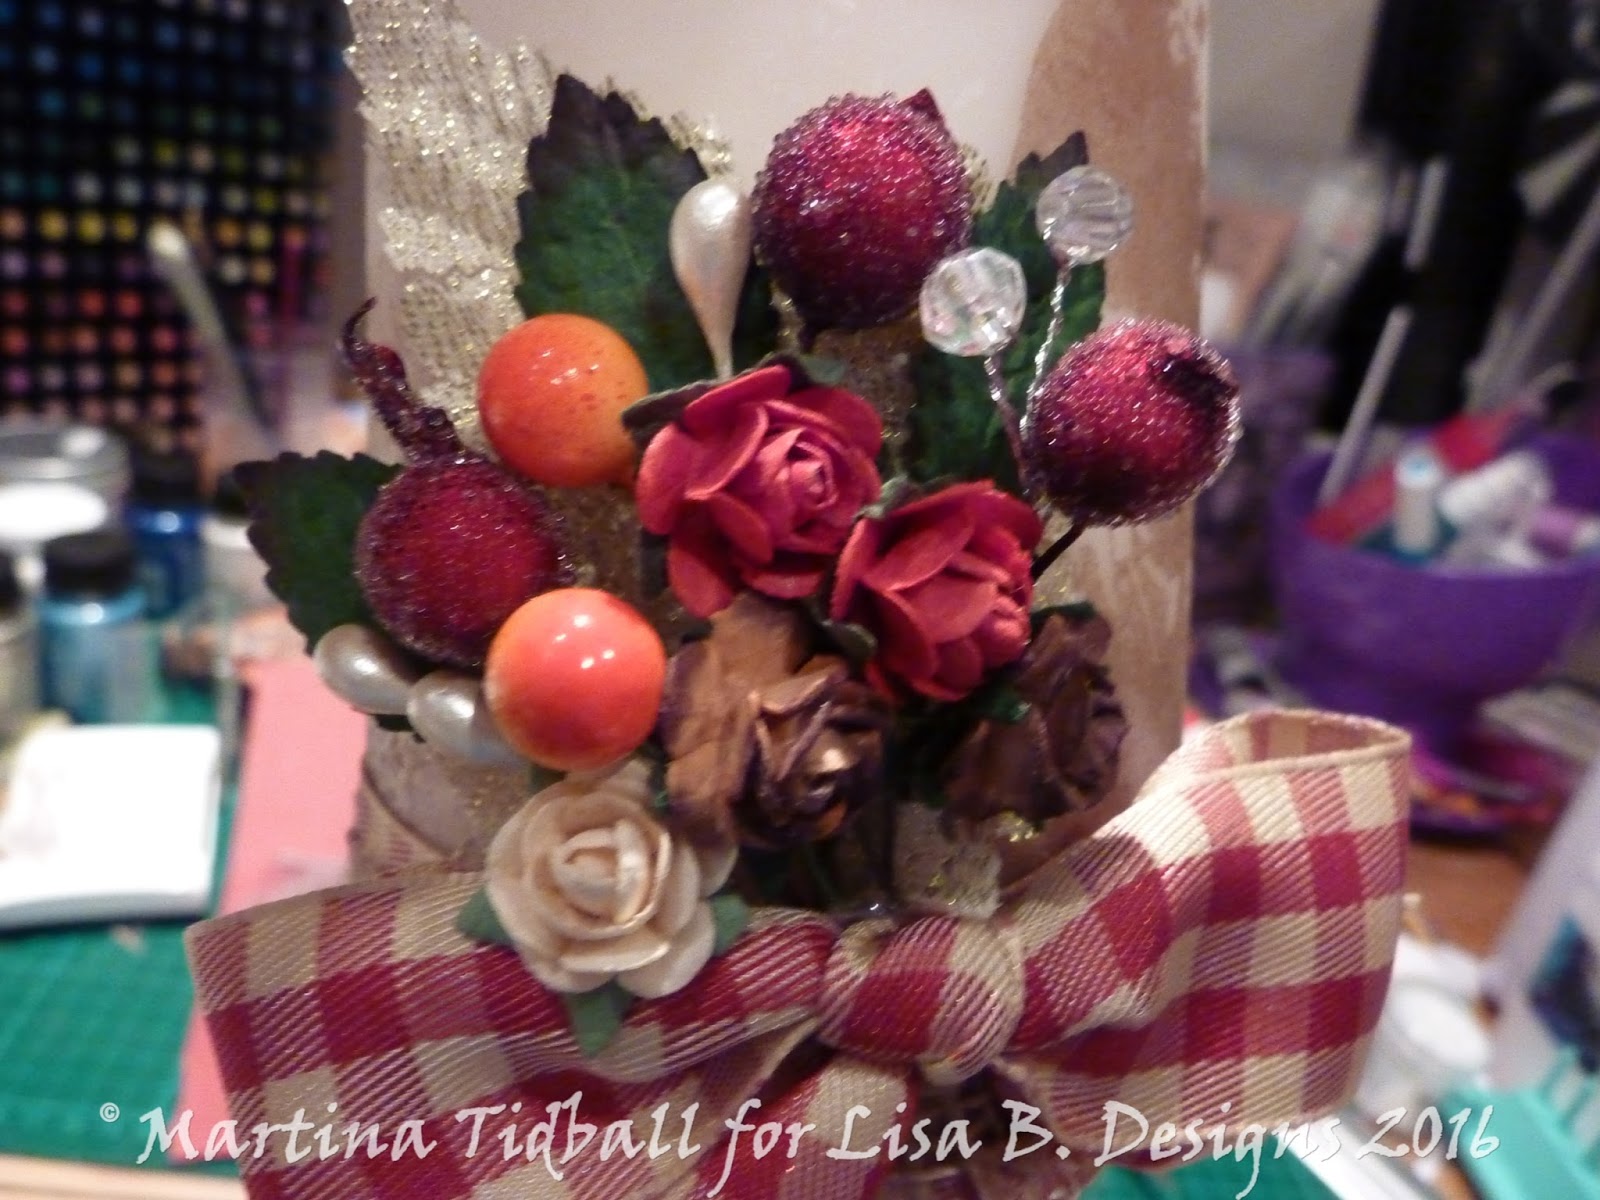
There we have it. One Christmas candle, perfect for a gift. If you choose a posh candle, you get a lovely smell too!


That's it from me until next week, in the meantime I think I must partake of some calorific delights to keep my energy up...!
Lots of love,
Martina
xx


Beautiful candle, j have quite a collection waiting to be stamped lol, lost a bit of confidence when I melted candle too much but have a new heat gun now and after seeing your tutorial I'm ready to try again 😃
ReplyDeleteThat's fab Tracey, so glad! We have all melted them many times, so don't worry. Just don't melt your fingers as well! xxx
DeleteThis is so gorgeous, Martina!
ReplyDelete